


Today I’m going to share a quick and easy tutorial on an often-overlooked (but important!) step in your website creation process. This is something that I do for every single one of my clients, but it’s not something that most of them would think to do themselves!
What exactly am I talking about?
Creating a customized 404 error page for your Squarespace website.
This post will give you an overview of what a 404 error page is, when they pop up, why it’s important to create a tailor-made one for your website, and most importantly, HOW to make a customized one for your Squarespace website.
Time to dive in!
WHAT’S A 404 ERROR PAGE? WHEN DO THEY POP UP?
Let’s start with the basics.
A 404 error is the message that automatically appears on your live Squarespace website when you click on a URL or webpage that’s no longer available.
These can occur when:
- You re-name or change the URL on one of your Squarespace pages, but forget to go back through your website and update any buttons or text links with the old URL
- You link to someone else’s website in one of your blog posts and then they delete that page from their website. **
** This is why it is so important to frequently check your website for broken links!
The standard Squarespace 404 error message looks like this:

WHY IS IT IMPORTANT TO CUSTOMIZE THE 404 ERROR PAGE?
As you may have guessed, having broken links on your website that lead to 404 error pages can be harmful for your website’s SEO (search engine optimization – read more detailed SEO info here!). Here’s why:
- Search engines interpret broken links as making your website less user-friendly (which is true!). This can penalize your Google ranking (essentially Google says – “this website is more difficult to navigate, so I’m not going to prioritize showing it in search results.”)
- Second – it can be annoying for users! Not only do broken links look unprofessional, but they can also be frustrating. When you’re trying to navigate to someone’s about page and instead the button you click takes you to a 404 error page, you might feel less motivated to continue browsing the website.
SO! It’s important to make the 404 error page more customized to fit YOUR website and YOUR brand, so that if somebody accidentally stumbles upon a broken link (this will definitely happen over your website’s lifetime!), they are still met with your own original content.
When you customize the page, you can remove Squarespace’s standard lingo and add buttons, fonts, colours, or images that keep the site visitor engaged, interested, and wanting to continue browsing your website.
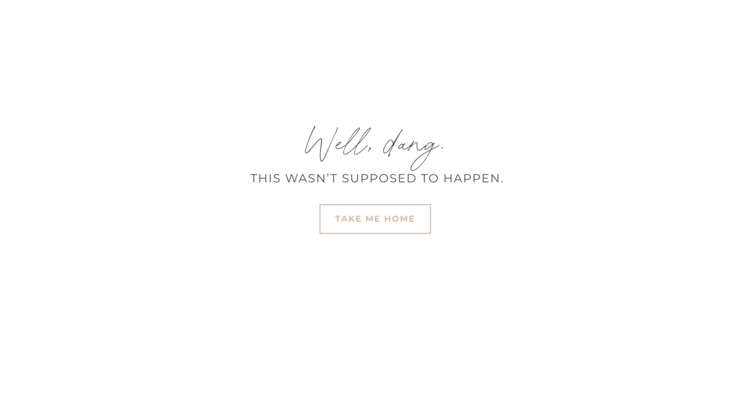
Here’s an example of an old 404 error page I customized for my own website. It’s simple, clean, uses my casual written language, has zero distractions, but still includes my branding and a clear CTA to take the site visitor back to the home page.
Wondering how to make one of these customized pages!? I’m going to show you in this little video tutorial! The short snippet of custom CSS that you’ll need for the tutorial is below the video. Follow along and then you can design along with me to make your own customized 404 error page.
HOW TO MAKE A CUSTOM 404 ERROR PAGE – DESIGN VIDEO TUTORIAL
Here is the code I used to remove the header and footer from the page:
<style>.header, #footer-sections {display:none!important}</style>
GO TRY IT YOURSELF!
There you have it! A handy tutorial for how to customize your own Squarespace 7.1 404 error page. If you found this helpful, make sure you subscribe to receive email updates about my weekly blog posts – lots more educational content coming your way!

How to make a custom 404 error page in Squarespace 7.1
September 10, 2021

